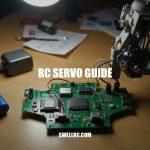
Understanding RC Transmitters Radio Control Guide
I’ll never forget the first time I gently nudged the stick on my RC helicopter’s transmitter and watched the blades respond with silky smooth precision. That tiny movement—barely a flick—translated into the exact servo position I intended, almost like magic. That ‘aha’ moment sparked my fascination with radio control systems and set me down a rabbit hole of discovering how these compact devices turned my hand gestures into seamless action miles away.
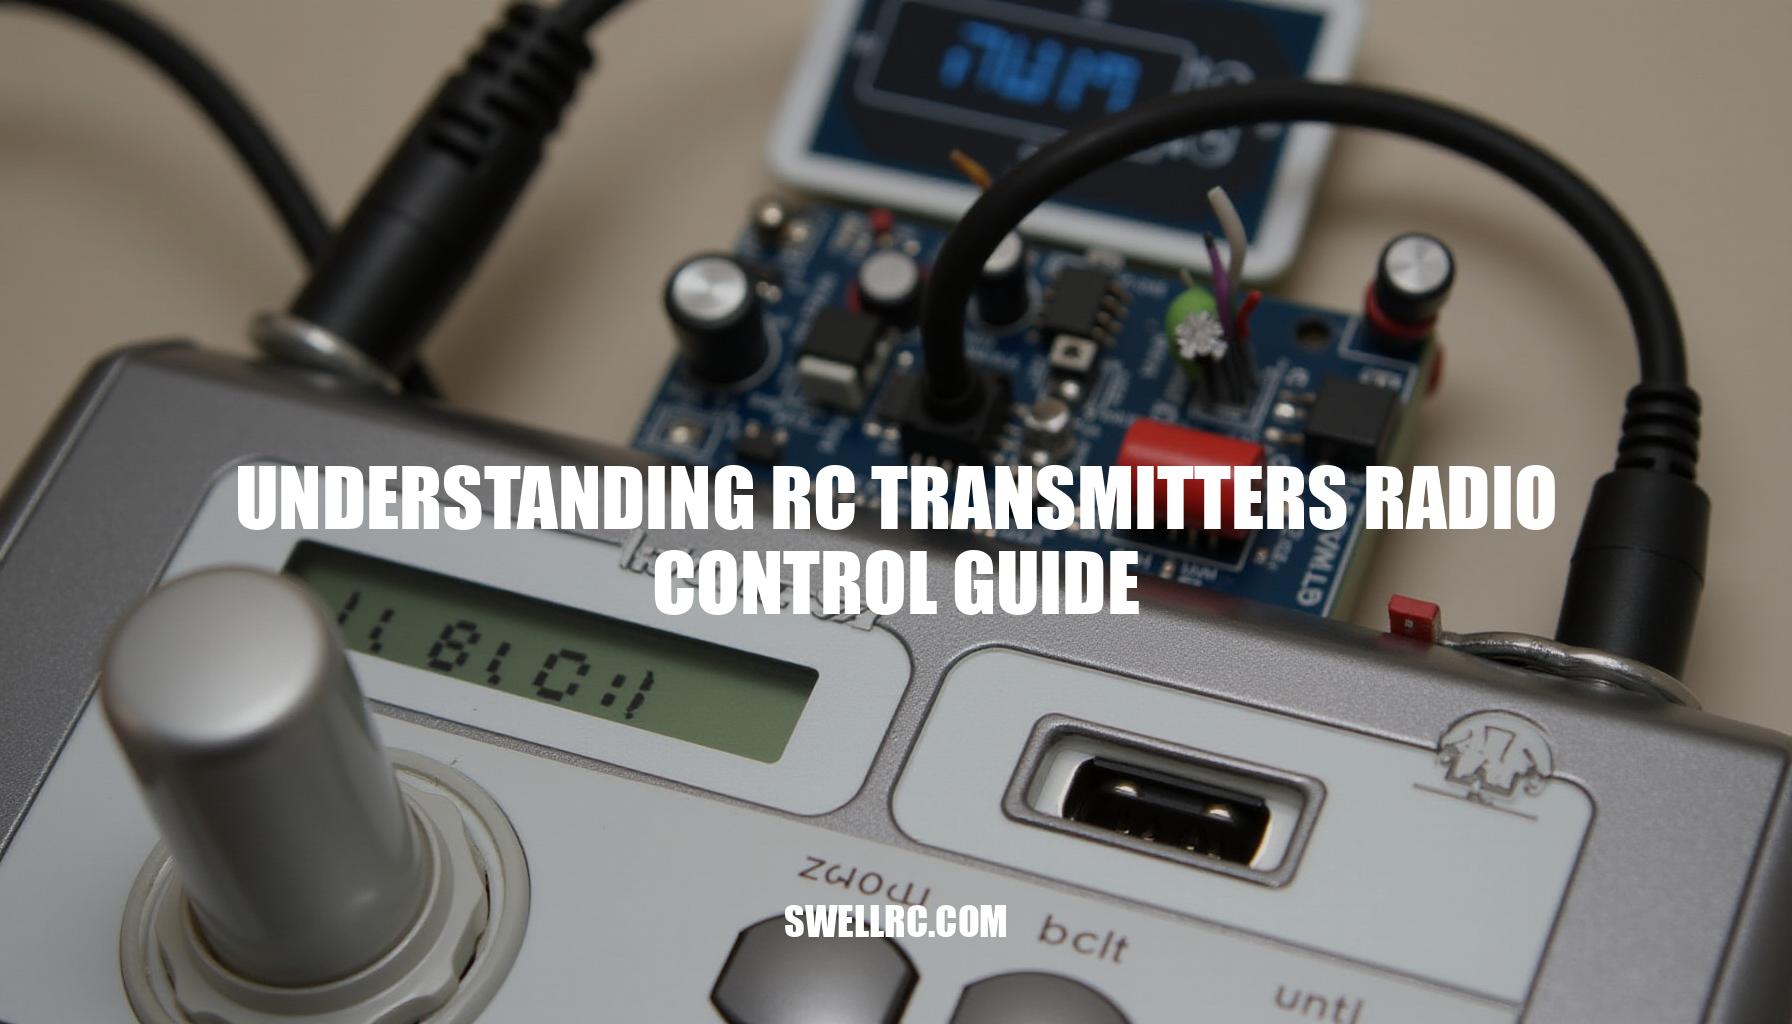
At the heart of it all lies the RC transmitter, the handheld brain that converts our inputs into remote control signals the receiver in our model understands. Across RC car remote control systems, planes, helicopters, and boats, each type pushes transmitters to deliver nuanced control in unique ways, testing the limits of RC frequencies and signal fidelity. In this guide, we’ll explore how RC transmitter and receiver pairs communicate, how to choose the right radio for your interests, and walk you through binding, programming, and mastering your setup.
Ready to dive deeper? Check out our full explanation at how RC transmitters and receivers work. Let’s embark on this journey to unlock the secrets behind every precise move!
How RC Transmitters and Receivers Communicate
Understanding how the movement of sticks, knobs, or switches on an RC transmitter translates into precise servo and Electronic Speed Controller (ESC) outputs involves a fascinating chain of processes that ensure your commands reach the aircraft or vehicle accurately and reliably. At its core, this involves input processing, signal encoding, modulation, transmission, demodulation, decoding, and finally output generation. Here’s a step-by-step look at this process:
- User moves stick or wheel: The transmitter’s controls detect the physical position of the stick or knob, converting mechanical movement into electrical signals.
- Transmitter converts movement to digital channel data: These analog signals are converted into digital values representing each control channel (e.g., throttle, aileron).
- Data is packetized and spread-spectrum modulated (2.4GHz): The digital channel data is organized into packets and modulated using techniques like Direct Sequence Spread Spectrum (DSSS) or Frequency Hopping Spread Spectrum (FHSS) in the 2.4GHz band — modern standards for 2.4GHz communication that enhance signal robustness.
- Receiver locks to hop pattern, demodulates, error-checks: The receiver follows the transmitter’s frequency hopping pattern or code to demodulate the signal, employing error-checking to ensure data integrity.
- Receiver outputs PWM/PPM/S.Bus to servos/ESCs: Decoded channel data is translated into servo control signals — typically Pulse Width Modulation (PWM) pulses for individual servos or standardized serial protocols like PPM, iBus, and S.Bus — which drive the servos and ESCs with precise timing.
- Failsafe triggers if link quality drops: If the receiver detects a weak or lost signal, failsafe mechanisms activate to bring the model to a safe state.
In the early days of RC, systems operated using analog signals modulated at frequencies like 27, 49, 72, or 75 MHz via AM or FM techniques. These were susceptible to interference and limited in channel capacity. Today, advances in transmitter programming and digital protocols mean most systems communicate via robust digital signals at 2.4GHz, leveraging remote control signals that automatically manage frequency hopping and error correction for a seamless experience.
From my personal experience testing dozens of systems, it’s clear that while raw range is important, latency and link robustness are equally critical for precise control. Systems with sophisticated encoding methods and adaptive frequency hopping maintain a “locked in” feel, where control inputs correspond instantly and reliably to outputs. This translates into safer, more predictable performance in demanding flight or driving conditions.
Internally, understanding receiver channels and how they translate to various output standards is key for advanced model setups involving flight controllers and complex mixing. For a more detailed dive into the engineering behind these remote control signals and their processing, check out the article “How RC Controllers Work.”
Frequencies, Channels, and What They Mean
Understanding RC frequencies and receiver channels is key to mastering your remote control experience. Let’s break down the common frequency bands and how their characteristics impact interference, range, and control flexibility.
Traditionally, RC devices have operated on the 27MHz and 49MHz bands, primarily used in legacy toy and hobby-grade models. These frequencies are easily recognized by their longer antennas and fixed crystal channels, which unfortunately make them more vulnerable to interference, especially in crowded environments.
Moving up the spectrum, the 72MHz and 75MHz bands were standard for traditional aircraft and surface models, offering better reliability but still limited by channel selection and susceptibility to noise.
The modern standard is the 2.4GHz spread spectrum frequency band. This band features shorter antennas, frequency hopping to avoid interference, quick binding between the transmitter and receiver, and model memory, allowing multiple models and configurations without manual re-tuning.
Channels in your RC transmitter represent distinct control functions such as throttle, steering, elevator, ailerons, rudder, flaps, lights, and even gimbals. More channels equate to enhanced control flexibility and mixing capabilities, expanding your model’s functionality.
Here’s a practical comparison to illustrate these differences:
| Frequency Band | Typical Range | Antenna Length | Interference Susceptibility | Typical Use Today |
|---|---|---|---|---|
| 27MHz | Up to 150 meters | Long (20-30 cm) | High – fixed crystal channels, prone to overlap | Legacy toys/hobby products |
| 49MHz | Up to 100 meters | Long (15-25 cm) | Moderate – fixed channels but less crowded than 27MHz | Legacy toys, small cars, boats |
| 2.4GHz | 500+ meters (varies by system) | Short (5-10 cm) | Low – frequency hopping reduces interference | Modern RC cars, aircraft, drones |
For instance, when I swapped the same buggy from a 27MHz system to a modern 2.4GHz radio, the glitching near power lines instantly disappeared, and the steering response felt significantly tighter. This experience highlights how modern remote control signals and RC transmitter setup technology leverage frequency bands and receiver channels to enhance your control precision and reduce common interference troubles.
Curious about what 27MHz means on an RC car? Check out this detailed explanation for more insights.
Types of RC Controllers and Their Uses
Choosing the right controller can transform your RC experience, as each style caters to specific vehicle types and user preferences. For most pilots, dual-stick controllers (stick transmitters) remain the standard, offering precise input for pitch, roll, yaw, and throttle—ideal for planes, helicopters, and multirotors. Their design excels in mixing and aerobatics, providing the nuanced control needed for advanced flying.
On the other hand, pistol-grip radios are tailor-made for RC car remote control systems and boats, featuring a steering wheel and trigger for throttle and braking. This setup feels intuitive and ergonomic for ground vehicles, enabling quick responses on the track or water. For enthusiasts juggling multiple models, a universal controller with multi-protocol binding offers tremendous flexibility, easily switching between brands and protocols to manage a diverse fleet without swapping radios.
Finally, those working with complex aircraft or scale models will benefit from advanced programmable units equipped with deep mixing capabilities, multiple flight modes, real-time telemetry, and even Lua-style scripting for bespoke transmitter programming. Reflecting on a real-world example, flying a micro heli with a dual-stick controller felt markedly more precise and controllable than struggling with a car-style pistol grip, highlighting how matching controller type to vehicle really enhances performance.
- Stick transmitters (dual-stick): Standard for planes/helis/multirotors; precise for pitch/roll/yaw/throttle; great for mixing and aerobatics.
- Pistol-grip radios: Ideal for cars and boats; wheel for steering, trigger for throttle/brake; quick, intuitive ergonomics.
- Universal/multi-protocol radios: Flexible binding to multiple brands/protocols; excellent for mixed fleets.
- Advanced programmable units: Deep mixing, flight modes, telemetry, Lua-style scripting; ideal for complex aircraft or scale builds.
- Real-world example: Flying a micro heli on dual-sticks felt utterly different—and far more controllable—than trying to adapt a car pistol grip.
For more detailed insights, explore our comprehensive guide on the types of controllers and learn about the best universal RC car remote control options available.
Binding and Programming – Making Your RC System Work for You
What is Binding? Binding an RC transmitter to its receiver is a crucial first step in remote-controlled hobbies. Binding pairs the transmitter with the receiver so they recognize and trust each other, preventing interference or cross-control from other devices operating on similar frequencies. This process ensures that your transmitter programming and receiver channels work harmoniously, enabling precise servo control signals to guide your model smoothly.
Step-by-Step Binding Guide for beginners:
- Power the receiver in bind mode: Usually, this involves pressing a bind button or plugging the receiver into a power source while holding the bind button to enter binding mode.
- Set your transmitter: Select the correct model profile and protocol compatible with your receiver, then enter the bind mode on your transmitter.
- Wait for confirmation: Observe the LED indicators or link signals on both devices; a steady light usually confirms successful binding.
- Power cycle both devices: Turn off then on both transmitter and receiver.
Verify receiver channels correspond properly, and check that all channel directions and endpoints respond as expected.
- Set failsafe settings: Program failsafe positions such as throttle to low and other controls to neutral. This enhances safety should signal loss occur during operation.
Quick Troubleshooting Tips:
- No bind achieved? Double-check protocol compatibility, avoid being too close to the receiver during binding as excessive proximity can saturate the signal, and ensure batteries are fresh and fully charged.
- Channels reversed? Correct servo directions by using servo reverse functions or remapping channels within the transmitter programming interface.
- Glitches or erratic behavior? Try rebinding the devices, reposition antennas for optimal reception, and separate power wiring from ESC wiring to reduce electrical noise interference affecting servo control signals.
Programming Basics: Once binding is complete, familiarize yourself with adjusting endpoints, applying subtrim for fine servo centering, manipulating rates and expo to soften or sharpen controls, and configuring advanced mixes such as elevon or flaperon setups for specific model types. Don’t forget to clearly name your model profiles for easy identification.
For a comprehensive binding guide and detailed steps on programming a car remote, visit these trusted resources to ensure your first try is a success.
Choosing the Right Transmitter for Your RC Vehicle
When choosing the right RC transmitter—whether for cars, planes, or helicopters—practical experience highlights several features that truly impact your flying or driving enjoyment, reliability, and future expandability. Link reliability and latency remain paramount; low latency ensures your commands translate smoothly to your model without frustrating delays, while a robust RF link keeps you connected at longer ranges. Ergonomics and gimbal or wheel quality shouldn’t be underestimated, as comfortable controls reduce fatigue and improve precision over extended sessions.
Channel count and model memory are vital for versatility—having enough channels allows you to control all the functions your model requires, while ample model memory lets you effortlessly switch between different vehicles without reprogramming. Multi-protocol compatibility or support expands your options across various brands and models, making your transmitter a long-term companion. Telemetry and voice alerts provide real-time feedback, enhancing safety and situational awareness.
Lastly, ongoing firmware support and an engaged community ensure your transmitter stays updated with new features and bug fixes.
From my hands-on trials, I consistently gravitate towards radios that strike a balance between ergonomic comfort, clean RF performance, and intuitive menus that simplify transmitter programming—spending less time fiddling means more time flying or driving. For more tailored suggestions, see our best RC plane transmitter recommendations.
Here’s a practical buyer’s checklist to guide your RC transmitter setup decisions:
| Feature | Importance | Notes / What to Look For |
|---|---|---|
| Channel count | High | Ensure sufficient channels for all model functions and future upgrades |
| Protocols | High | Look for multi-protocol support to maximize compatibility across models |
| Gimbal/wheel feel | High | Smooth, precise controls are essential for accurate transmitter programming and control |
| Latency | High | Low latency enhances response time and control accuracy |
| Range | Medium | Consider expected flying/driving environments and RF link reliability |
| Telemetry | Medium | Provides real-time data like battery, signal strength, and alerts |
| Battery type | Medium | Rechargeable options often offer convenience and longer life |
| Weight/ergonomics | High | Comfortable design reduces fatigue during extended use |
| Model memory | High | Easy switching and saving profiles for multiple vehicles simplifies setup |
| Firmware/support | High | Active updates and community enhance longevity and features |
| Price | Medium | Balance features with your budget and long-term needs |
Incorporating these considerations into your RC transmitter setup ensures you select a controller that not only meets your current needs but also adapts gracefully to advanced transmitter programming and expanding compatibility. Ultimately, prioritizing range and latency along with ergonomics and firmware support makes for a reliable, enjoyable flying or driving experience.
Advanced Applications – When Skills and Setup Matter
For growing hobbyists ready to step into more capable radios and organize bigger fleets, mastering multi-model memory is essential. This feature allows a single transmitter to control many models by binding each receiver separately, labeling, backing up models, and leveraging model-match features if available. Effective transmitter programming also involves exploiting extra channels and advanced mixing options, such as flap and retract controls, gyro gain adjustments, gimbal tilt/pan, FPV modes, throttle curves, and various flight modes to tailor the experience precisely.
When managing large aircraft setups, linking multiple receivers becomes crucial. Options include redundant power buses, satellite receivers, or serial bus connections that enhance reliability for expansive models. Specifically, for helicopters and planes, complex setups often require detailed RC plane and helicopter setup knowledge.
This includes programming throttle and pitch curves, fine-tuning gyro and tail gain, swashplate mixes, differential thrust, and crow brakes. Those looking to dive deeper can reference internal guides such as Connect an RC helicopter to a remote and How an RC plane works for foundational insights.
Below is a suggested difficulty rating table to help hobbyists gauge the complexity of various vehicle types, typical channel counts, and key mixes/features often involved in their setups:
| Vehicle Type | Setup Complexity | Typical Channel Count | Key Mixes/Features |
|---|---|---|---|
| Car/Boat | Beginner | 2-4 channels | Basic steering and throttle |
| Plane | Intermediate | 6-10 channels | Flaps, retracts, throttle curves, flight modes |
| Heli | Advanced | 8-12+ channels | Throttle/pitch curves, gyro/tail gain, swashplate mixes, differential thrust, crow brakes |
By leveraging multi-model memory, advanced mixing techniques, and tailored setups for both planes and helicopters, hobbyists can efficiently manage their fleets and enjoy more precise, capable flying experiences.
Conclusion: The Reward of Mastering RC Transmitters
Reflecting on your journey with radio control systems, it’s clear how understanding the RC transmitter and receiver transforms guesswork into confident, precise control—whether you’re carving a perfect drift or nailing a smooth landing. This knowledge brings a tangible emotional payoff: the thrill of mastery coupled with the practical competence to enjoy your RC fleet to its fullest. Cleaner signals, safer failsafes, and smoother control reduce surprises and boost your overall experience.
To continue growing your skills, keep experimenting by:
- Testing different setups and conditions to see what works best.
- Trying new mixes and learning advanced transmitter programming techniques.
- Exploring the nuances of binding RC transmitter configurations as you expand your collection of models.
Remember, mastering radio control technology is an exciting, never-ending adventure.
Rely on SwellRC as your trusted guide, and explore the linked guides throughout this site to dive deeper and keep advancing your craft.
Frequently Asked Questions
- What is the purpose of an RC transmitter?
It converts your inputs (sticks, wheel, switches) into encoded radio commands and sends them to the receiver, which drives servos and ESCs. A good transmitter also manages failsafe, model memory, and mixing. - How do RC transmitters and receivers communicate?
The transmitter encodes channel data, modulates it onto a carrier (today usually 2.4GHz with spread spectrum), and sends packets over the air. The receiver demodulates, error-checks, then outputs PWM/PPM/S.Bus signals to servos and controllers. - What frequency does an RC radio use and why?
Modern systems mostly use 2.4GHz for short antennas, low interference, and reliable frequency hopping. Older sets used 27/49/72/75MHz; these can offer longer antennas and, sometimes, different propagation but are more prone to interference and crystal conflicts. - Can one remote control multiple RC models?
Yes—if the radio has multi-model memory and supports the needed protocols. Bind each model’s receiver separately, label profiles, and consider multi-protocol modules for broader compatibility. - How do you choose the best RC transmitter for beginners?
Pick a 2.4GHz radio with solid ergonomics, at least 4–6 channels (cars/boats) or 6+ (planes/helis), simple menus, dependable brand support, trainer options, and room to grow via model memory and updates. - Why do some RC transmitters have more channels?
Each channel controls a function. More channels enable flaps, retracts, gimbals, lights, gyro gains, and advanced mixes—crucial for complex aircraft or scale builds. - What’s the difference between 27MHz and 2.4GHz in RC?
27MHz systems are typically analog with longer antennas and higher interference risk; they often use fixed crystals. 2.4GHz systems are digital, use spread spectrum with binding/model memory, have short antennas, and offer more robust, interference-resistant links.